Wardrobe Fitting Dubai: How the Process Works and What to Expect
Wardrobe fitting in Dubai is where the difference between a good wardrobe company and a disappointing one becomes visible. A beautifully designed wardrobe that is installed poorly, or a correctly manufactured wardrobe that is fitted by a team that rushes the alignment and punch-list, will frustrate you every time you use it. This guide covers what the fitting process should look like, what you need to prepare before the fitting team arrives, and how to evaluate the quality of the work at handover.
**The fitting process from start to finish**
A professional wardrobe fitting in Dubai follows a consistent sequence that covers five phases: pre-delivery survey, delivery and preparation, assembly, finishing and alignment, and sign-off.
Pre-delivery survey. Three to five days before the installation date, the fitting team sends a technician to verify the room dimensions against the manufacturing drawings. This is not a repeat of the initial design measurement. It is a confirmation check that the room has not changed (no new skirting board, no wall paint that adds 2mm to the wall dimension, no AC duct cover that was not there at the design stage). In Dubai villa projects, this step also confirms that vehicle access to the property and parking for the installation van has been arranged. Gated communities require a visitor pass for the installation vehicle that must be organized 24 to 48 hours in advance.
Delivery and panel inspection. The installation team arrives with the manufactured panels in padded blankets, labelled by section. Each panel is inspected against the manufacturing list before installation begins. Any panel that is damaged in transit or manufactured with an error is flagged and the project coordinator is notified. A replacement panel for melamine MDF can typically be manufactured within 3 to 5 working days. A lacquer panel requires 7 to 14 days because the spray finish needs curing time. If the team proceeds without flagging a damaged panel, you may only notice the problem after the wardrobe is complete. Insist on a panel inspection walk-through at the start of the day.
Assembly. The carcass is assembled in the room from the floor up. For built-in wardrobes, the top rail and base rail are first anchored to the ceiling and floor (or a plinth is installed). In Dubai villas with high ceilings (280cm to 320cm), the assembly of full-height panels requires at least two technicians: one to hold the panel while the other anchors it. A single-person installation team fitting a full-height wardrobe is a quality red flag. Wall anchors are expansion bolts into the masonry behind the plasterboard; confirm this verbally before installation begins, as some operators use only plasterboard fixings that will loosen under load within months.
Fitting internal elements. Drawer boxes, hanging rails, shelving, and pull-out accessories are fitted after the carcass is complete. Blum Tandembox or Legrabox drawer systems clip into the carcass runner brackets in a standardized sequence. Hanging rails are levelled and fixed at both ends. Adjustable shelf pins are inserted at the specified heights from the design drawings. LED strip channels are fitted into the carcass positions before the front panels are installed, as they cannot be retrofitted after assembly without removing and replacing panels.
Door hanging and alignment. Wardrobe doors are the last element fitted. For hinged doors: the hinges are fixed to the door panel first, then the mounting plates are fixed to the carcass interior. The door is then hung by clicking the hinge onto the mounting plate. Initial alignment is approximate. Final alignment uses the three-way Blum hinge adjustment: side (left-right), height (up-down), and depth (in-out from the carcass face). Every door in the wardrobe should be checked for parallel vertical edges, consistent gap to the adjacent panel, and full closure without catching. This alignment takes 3 to 5 minutes per door for an experienced fitter. Rushing this step produces doors that look uneven and require the client to self-adjust within months.
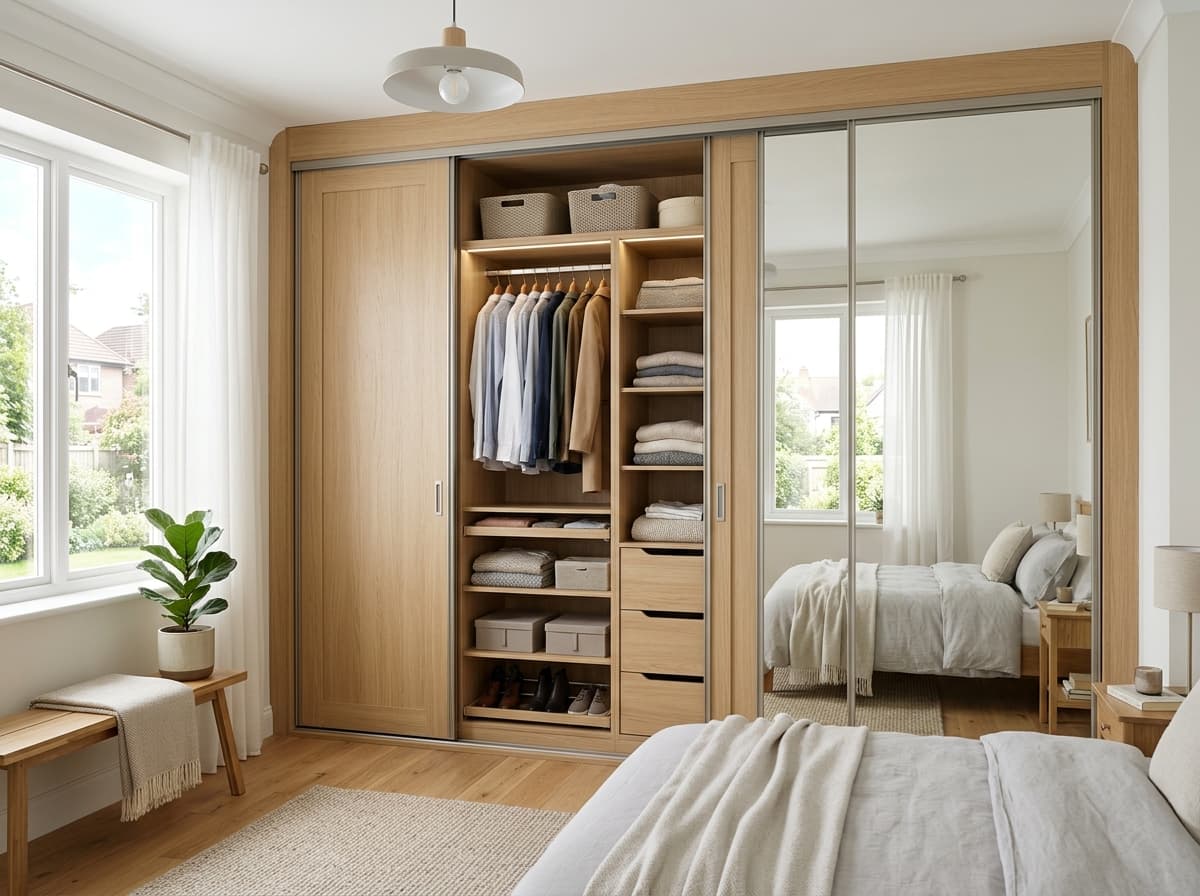
For sliding doors: the top rail is anchored to the ceiling and calibrated for level. The door panels are hung on the top-hung roller system and the bottom guides are positioned. The soft-close mechanism is adjusted so the door decelerates and closes gently in the final 150mm of travel. Each door is tested for smooth full-width travel without binding or derailing.
LED wiring and testing. LED strip connections are made in the carcass wiring channel. The driver unit (typically a 12V or 24V low-voltage transformer) is connected to the nearest socket or hardwired by an electrician. Door-activated switches are fitted and tested. Motion sensors for drawer lighting are programmed and tested. Every LED section is switched on and checked for even brightness and consistent colour temperature before the team leaves.
**The sign-off walk-through**
Before the installation team leaves your property, a sign-off walk-through should be conducted with you present. This is not optional. Open and close every door. Extend and retract every drawer. Test every LED section. Use every pull-out accessory. A quality fitting team expects and welcomes this walk-through. They will have pre-adjusted any obvious issues before asking you for sign-off. A team that resists the walk-through or asks you to sign a completion form without conducting it is a team with outstanding punch-list items they do not intend to return to fix.
Note any items that are not perfect. Minor items such as a door that needs 0.5mm further adjustment, a shelf position that should move one pin hole up, or an LED strip that is slightly dimmer than the adjacent run are all correctable in a 5 to 10-minute revisit. Do not sign the form if items are outstanding. The form is your only formal leverage to get them returned to.
**Punch-list visit**
Within 5 to 7 working days of installation, the fitting team should return for a punch-list visit. This visit adjusts any door or drawer alignment that has settled after initial use, rechecks LED connections, and makes any corrections from the sign-off walk-through. This visit is included in every quality wardrobe project's scope. If a company's contract does not explicitly include a punch-list visit, ask for it to be added before signing. Without it, you are accepting that all post-installation issues become billable call-out charges.
**What to prepare before the fitting team arrives**
The room must be completely clear of all furniture, curtains, and personal belongings before the installation team arrives. This includes the bed if the wardrobe runs along the same wall or if the team needs to work close to the bed's position. Dubai apartments often have limited storage space in adjacent rooms; plan the temporary relocation of bedroom contents 24 to 48 hours in advance, not on the morning of installation.
The room floor must be protected. The installation team lays thick cardboard sheeting across the work area. If you have parquet, marble, or any sensitive flooring, confirm the protection type with the project coordinator before installation day. Light-duty cardboard is insufficient for heavy panel drops on marble.
Power access: the team needs at least one working power outlet in the room for installation tools and LED testing. Confirm this is available. In Dubai apartment buildings where power sockets may be on a consumer unit that is locked by the landlord, arrange access in advance.
For gated communities: arrange a visitor vehicle pass for the installation van registration number. This takes 24 to 48 hours through the community management office and cannot be expedited on installation day. Missing this step typically delays installation start by 2 to 3 hours while the team parks outside the gate and carries panels manually.
**How long wardrobe fitting takes in Dubai**
A single-wall bedroom wardrobe (2 to 4 linear meters): 4 to 6 hours. One fitting team of 2 to 3 technicians.
An L-shaped wardrobe (4 to 7 linear meters): 6 to 10 hours. One to two teams.
A U-shaped walk-in closet (8 to 12 linear meters): 8 to 12 hours, typically spread over 1.5 to 2 days.
A full dressing room with island (12+ linear meters): 2 to 3 days.
Add half a day for integrated LED wiring on any installation. Add one day if hardwiring by a DEWA-licensed electrician is required.
These timelines assume the panels arrive in good condition, the room is fully cleared, and access is available. Any panel replacement, electrical coordination delay, or access issue extends the timeline. For a full picture of the installation sequence, see our <a href="/blog/walk-in-closet-installation-dubai">walk-in closet installation guide</a>.
**Choosing a wardrobe fitting company in Dubai**
The fitting quality is inseparable from the manufacturing quality. A company that manufactures in-house controls both the precision of the panels (which determines how easily they align during fitting) and the skill of the fitting team (who are factory-trained on the panels they are installing). A company that subcontracts installation to a general carpentry team may produce beautiful design renderings but deliver a fitting that misses by 3mm in three places, leaving gaps that no amount of hinge adjustment will close.
Ask any wardrobe company in Dubai: "Do your installation teams work exclusively for your company, or are they subcontracted?" A permanent fitting team is a positive indicator. An outsourced team is a risk factor.
For a full framework for evaluating wardrobe companies in Dubai before signing, see our <a href="/blog/walk-in-closet-company-dubai">walk-in closet company guide</a>. Walk-In Closet Dubai's fitting teams are employed directly and trained on our manufacturing. Projects start from AED 6,000. <a href="https://wa.me/971526001068" target="_blank" rel="noopener">WhatsApp us on 971526001068</a> or call 052 600 1068 to book a free on-site measurement.
Need help designing your perfect wardrobe or closet? Talk to us.